Before you begin
Prerequisites
1 Set up the Chargebee connector
Open the ThriveStack Revenue setup page, choose Subscription management, and complete the following sub-steps:
Map Environments
Map your Chargebee environment to your Application environment in ThriveStack.
Basic Configuration
Add chargebee site name, API key, and catalog version required to sync your Chargebee data.
Test your Chargebee Connection
Test the configuration that you have set up.
Start Ingestion
Trigger the data sync from your Chargebee account to your app environment in ThriveStack.
Test and save
Save and validate the connection.
2 Get Subdomain & API Key
Get your Chargebee Site Name (Subdomain)
Your site name appears in your Chargebee URL. For example, if your URL is mycompany.chargebee.com, your subdomain is mycompany.
Create Read-Only API Key
Create a new Read-Only API Key with all permissions.
Open Chargebee API KeysHow to create a Read-Only API Key:
- In your Chargebee dashboard, go to Settings > Configure Chargebee > API keys.
- Click + Add API Key.
- Enter a key name for identification.
- Select Read-Only Key.
- Choose All for permissions.
- Important: Do NOT create a Full Access key for security reasons.
- Click Create to generate your API key.
- Copy and paste the API key safely.
Confirm Product Catalog Version
We support both Product Catalog 1.0 and 2.0. Check your Chargebee left navigation — if you see Product Family under the Product Catalog menu, you're on Catalog 2.0, otherwise you're on Catalog 1.0.
How to identify your version
Chargebee stopped creating new accounts on Product Catalog 1.0 after January 1, 2021.
- Account created before Jan 1, 2021 → Product Catalog 1.0
- Account created on or after Jan 1, 2021 → Product Catalog 2.0
You can also confirm in your Chargebee dashboard under Settings → Configure Chargebee → Product Catalog. Chargebee docs
3 Enable Correlation between Product and Revenue
Add a group_id metadata field to each Chargebee customer — this must match the group_id sent in your product telemetry so ThriveStack can link revenue to product usage.
View product telemetry reference
Provide this prompt to an AI assistant with access to your codebase. The AI will review the ThriveStack Instrumentation Guide and automatically add the group_id metadata to your Chargebee customers.
You are a ThriveStack revenue intelligence installation wizard.
Read https://docs.thrivestack.ai/ai-setup/revenue/llms.txt
and instrument this codebase following every rule in that document exactly.
The revenue source to instrument is Chargebee.
The account identifier key to use is "group_id".- Open your AI coding tool with your project
- Paste the prompt above into the chat
- Review suggested changes before applying
Creating new Chargebee customers
curl https://{site}.chargebee.com/api/v2/customers \
  -u {api_key}: \
  -d email="john@example.com" \
  -d meta_data='{"group_id":"<account_id>"}'
Updating existing Chargebee customers
curl https://{site}.chargebee.com/api/v2/customers/{customer_id} \
  -u {api_key}: \
  -d meta_data='{"group_id":"<account_id>"}'
Reference: Chargebee Customer API docs
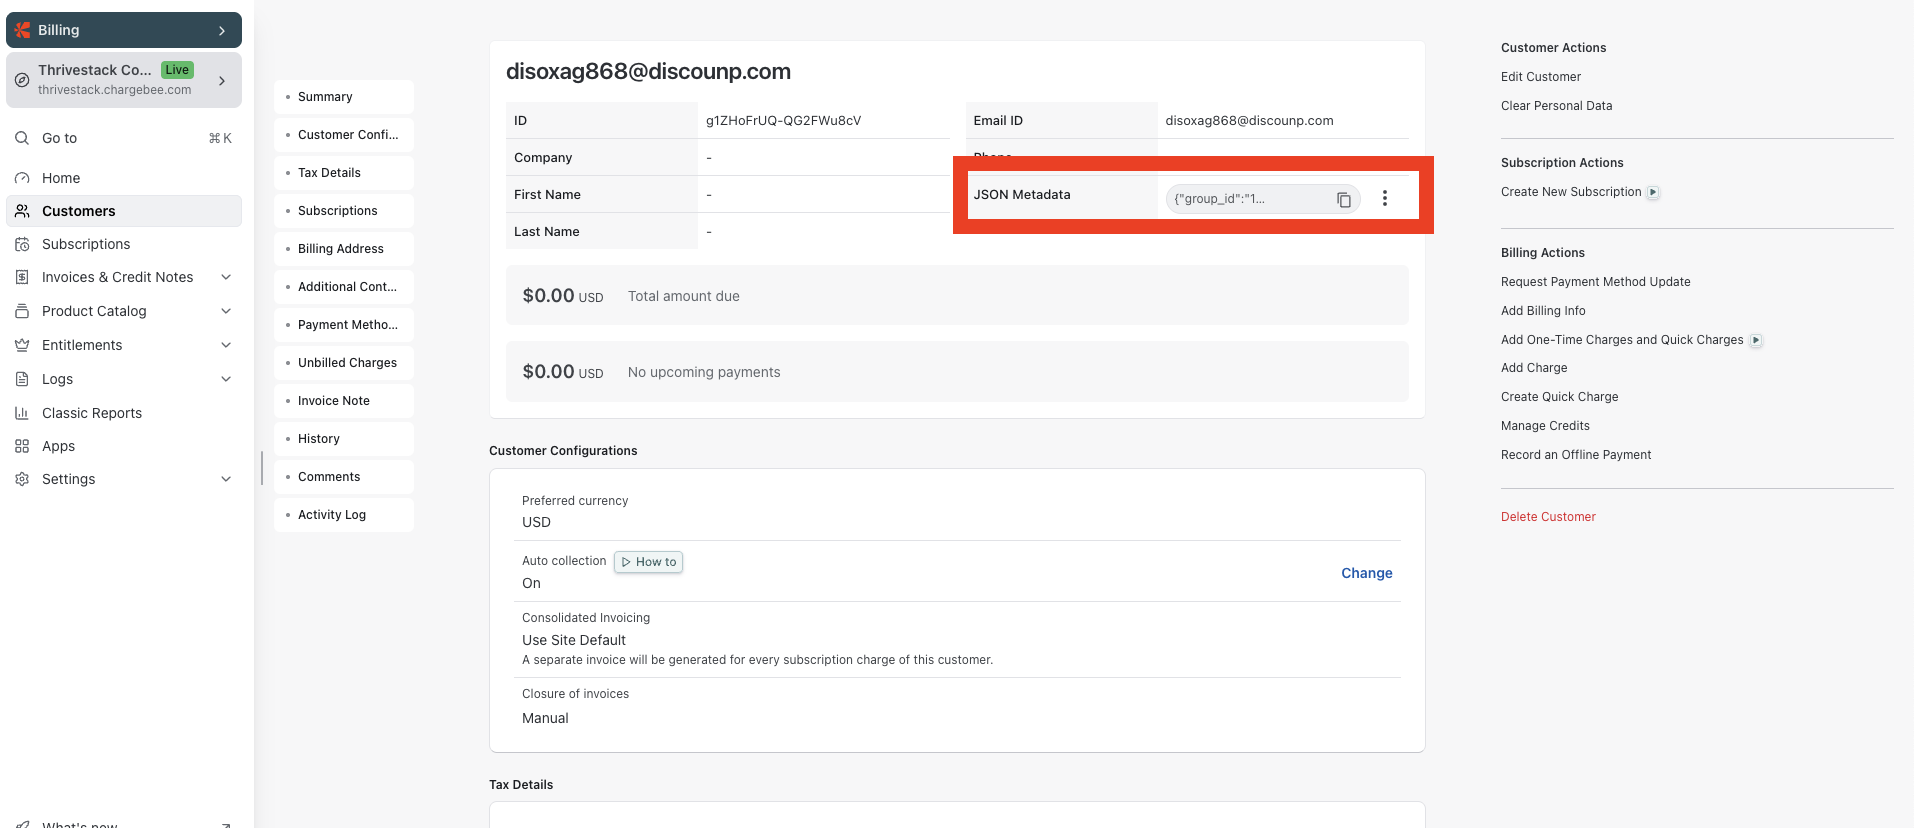
Verify: Run the flow in your application where a customer is created in Chargebee. Then open the customer record in the Chargebee Dashboard and confirm group_id appears in the JSON Metadata field.
Next steps
Once your Chargebee connection is active, instrument your billing code so ThriveStack can link revenue to product usage.